
Adding ballet classes to your profile is a great way to help dancers and parents discover your school.
This guide explains how to publish your ballet classes on BalletPlaces.
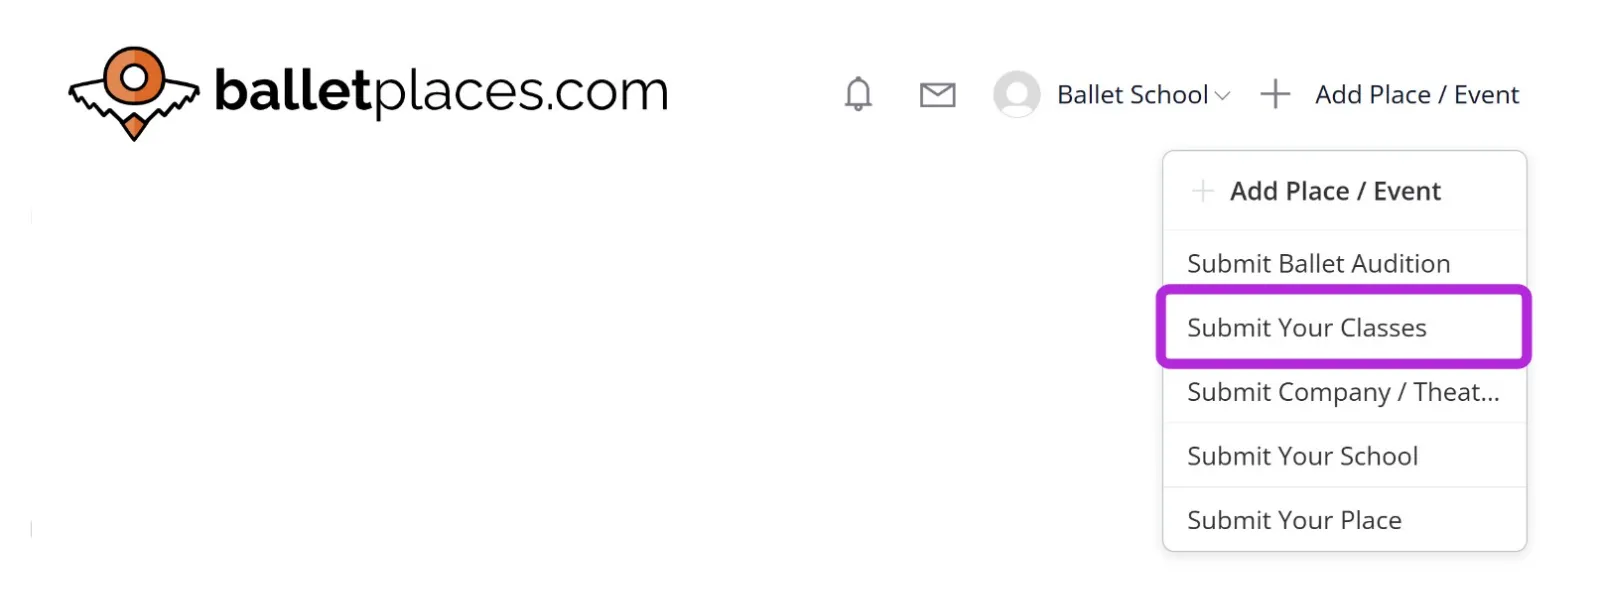
In the header menu, click “Add Place / Event”.

From the dropdown menu, select “Submit Your Classes”.*
* This option is only available to Schools and Theatres. If you cannot see it, please check that your profile is set up as a School or Theatre .
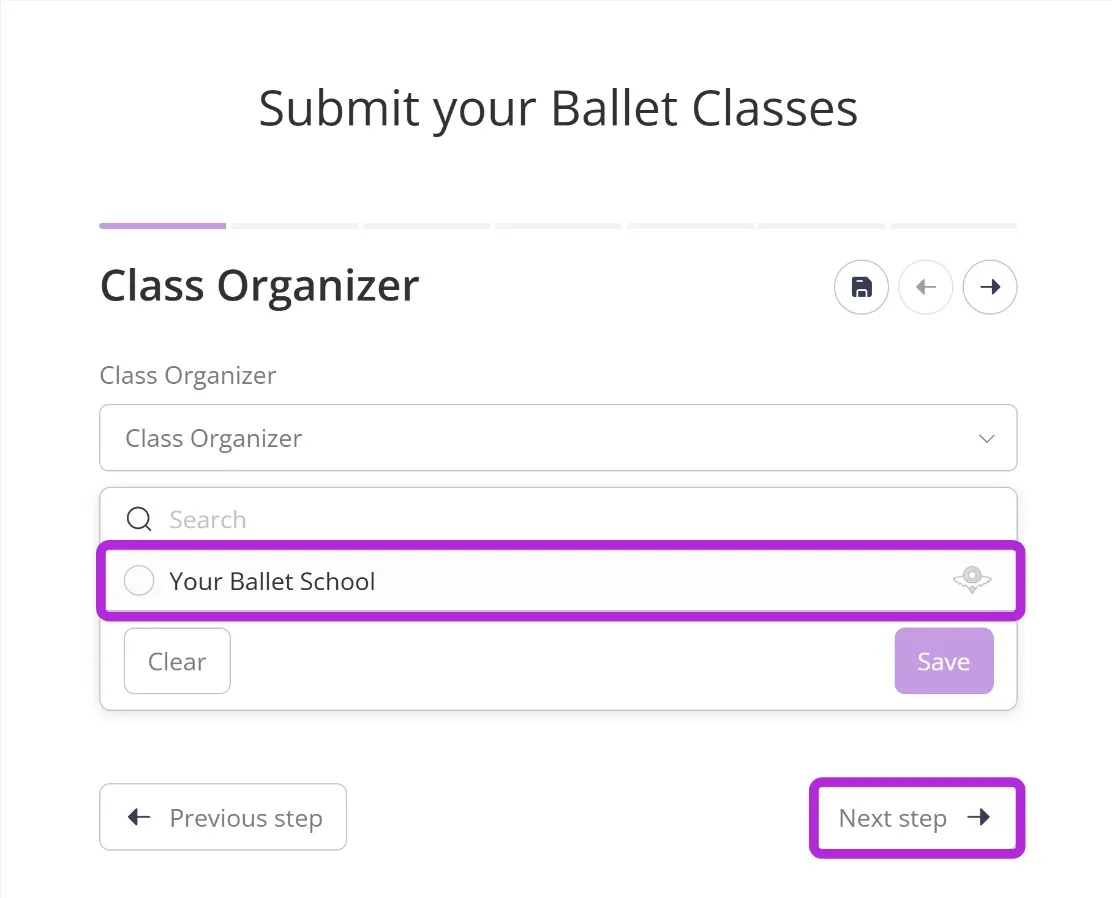
The “Submit Your Ballet Classes” form will appear.
If you have already claimed or published your Ballet School, you will be able to select it from the dropdown menu.
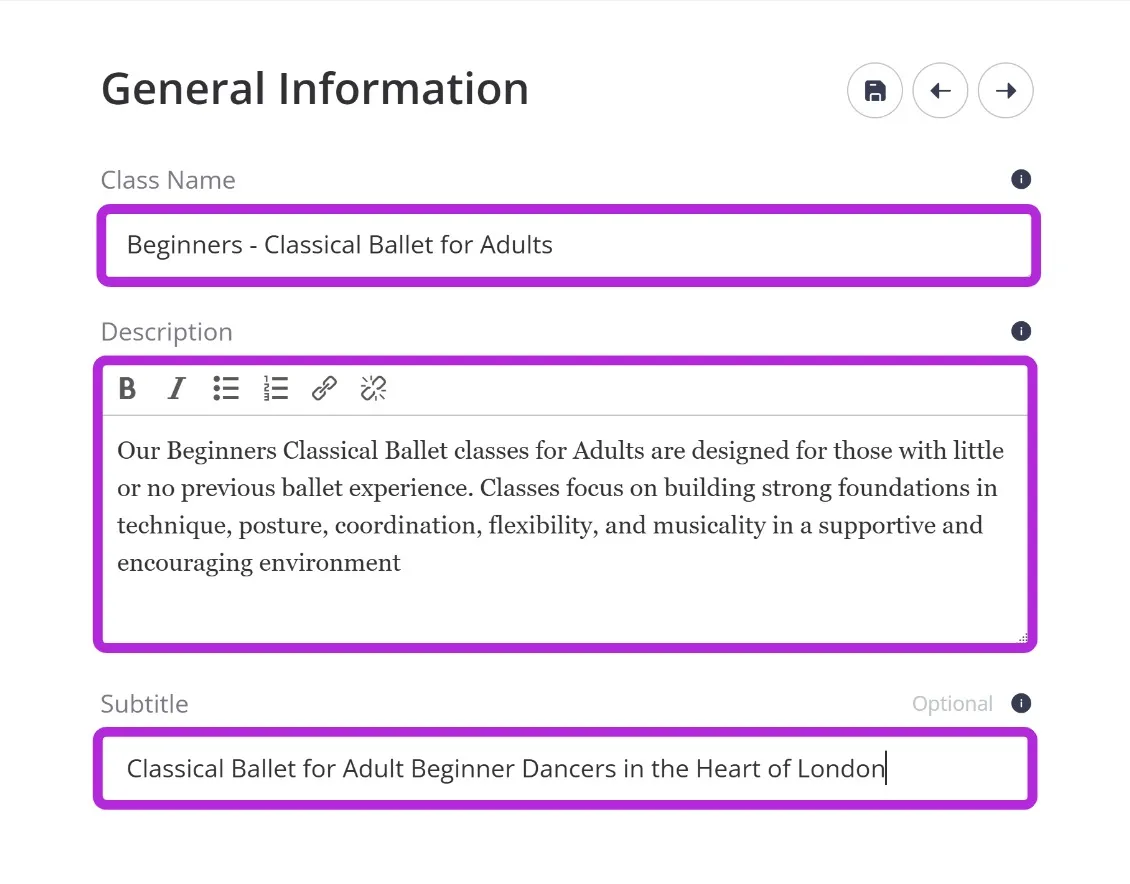
You can now add the main details about your class.
Please add each class separately. For example:
- Children’s Class - Mondays, 11:30–13:00
- Silver Swans - Thursdays, 18:00–19:30
Fill in all fields carefully.
Detailed and accurate descriptions help dancers find your classes more easily.
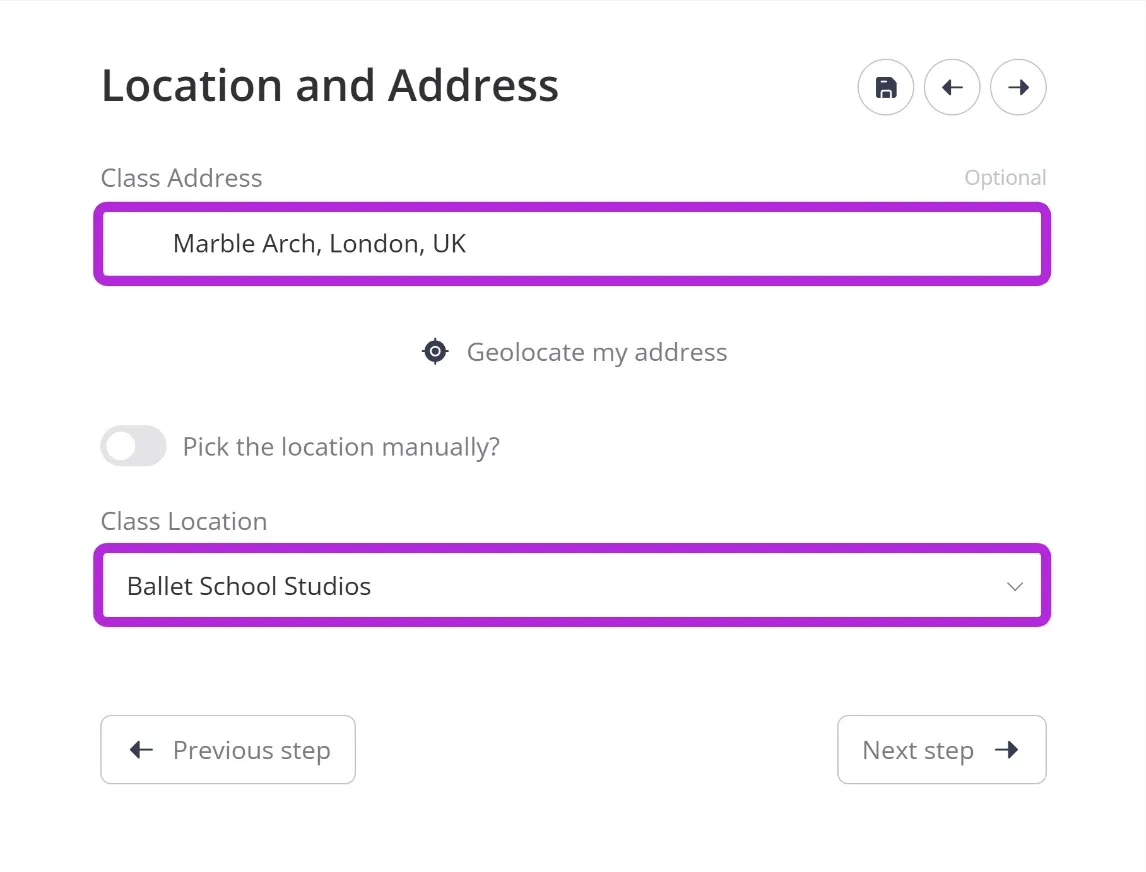
Enter the address of your school and select the venue where this class takes place.*
* If the venue is missing, select “Place I’m looking for is not on the list” and we will add it manually.
Click the “Add Date” button.
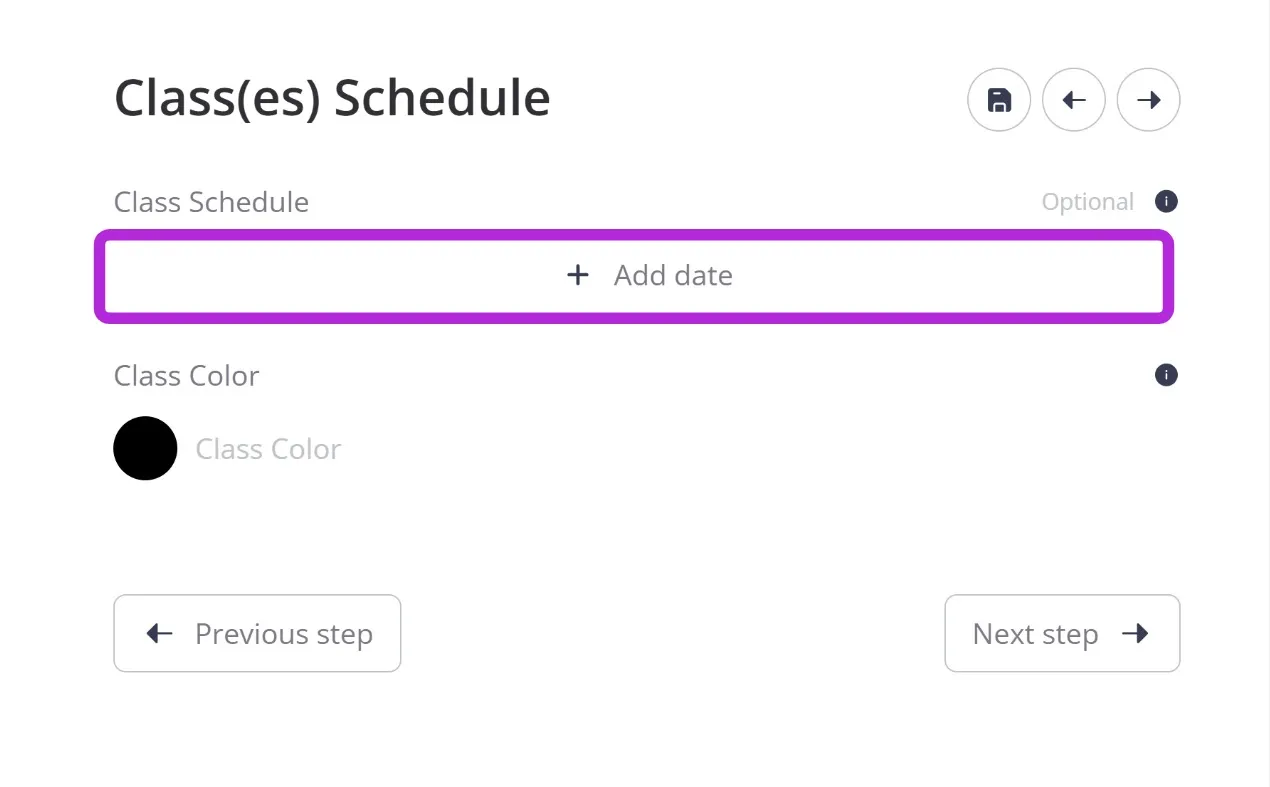
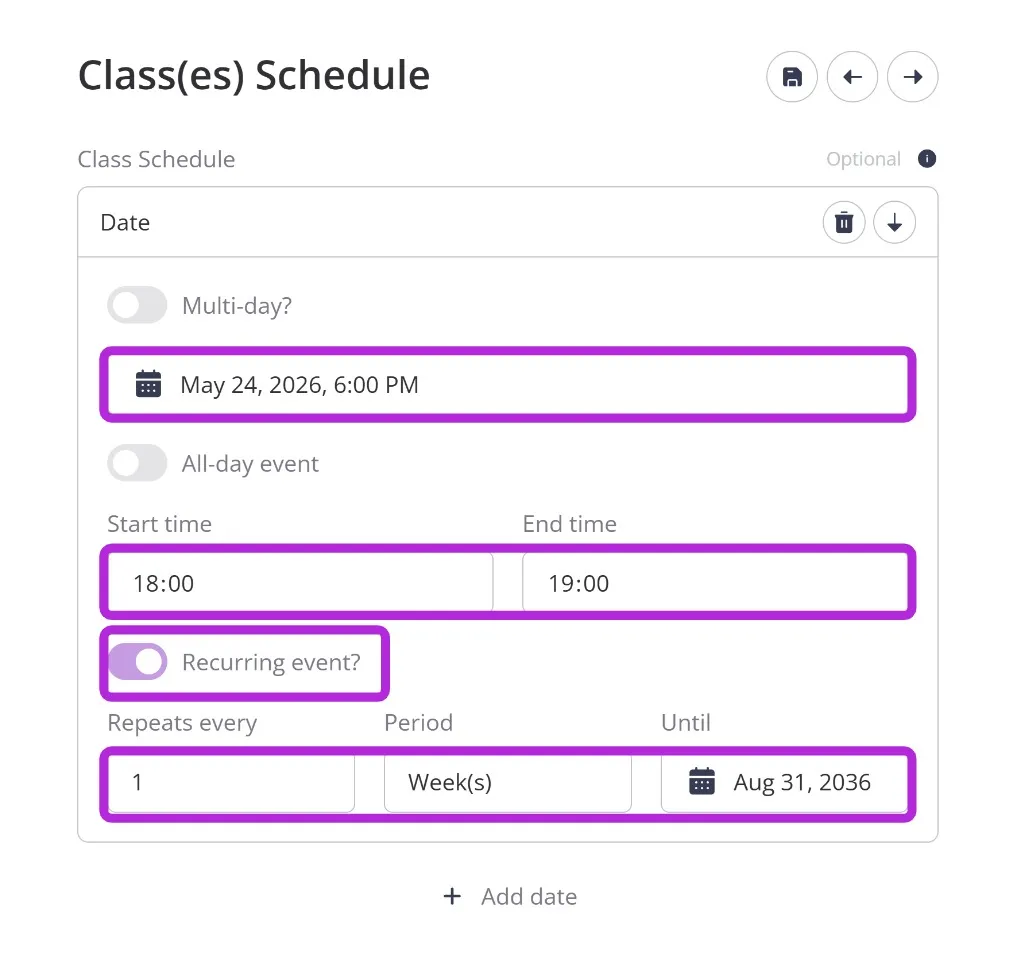
Fill in all schedule details carefully — this information will appear in your school timetable.
Date:
Select the next upcoming class date.
Example:
If today is Friday 10th and the next class takes place on Monday 13th, select Monday 13th.
Start time:
Select the exact class start time.
Recurring event?:
Select “Yes” if the class repeats regularly.
Repeats every:
Choose the correct interval.
For the “Until” field, we recommend selecting a date far in the future so you do not need to update the schedule too often.
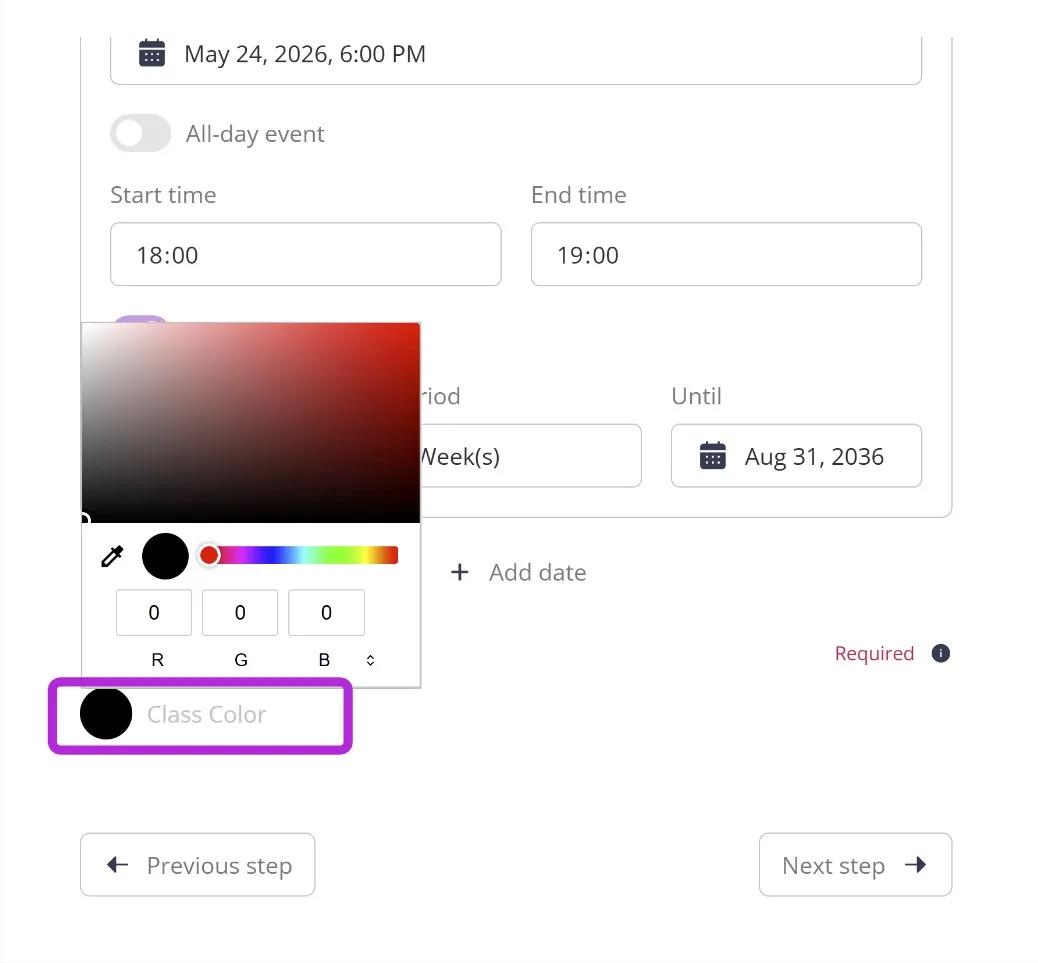
Calendar Colour
Choose the colour that will appear in the timetable calendar.
Important! the calendar uses white text, so darker colours work best.
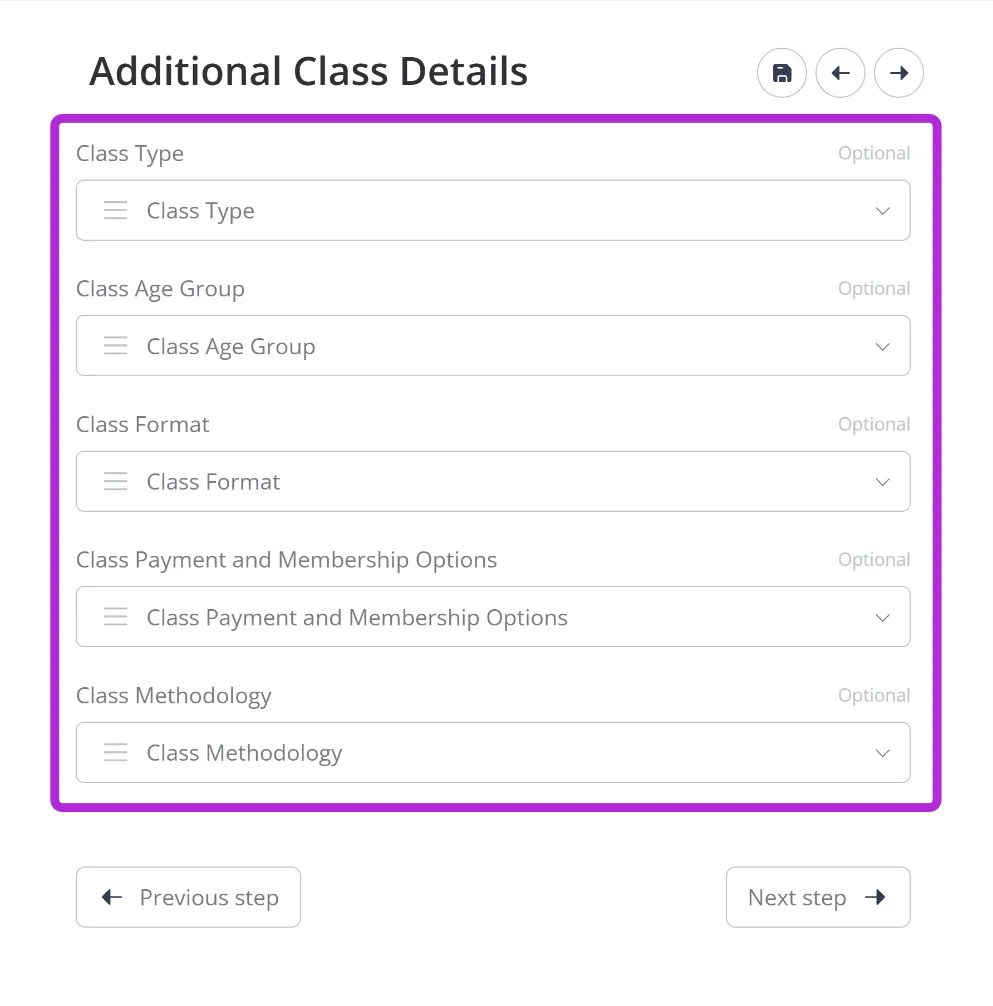
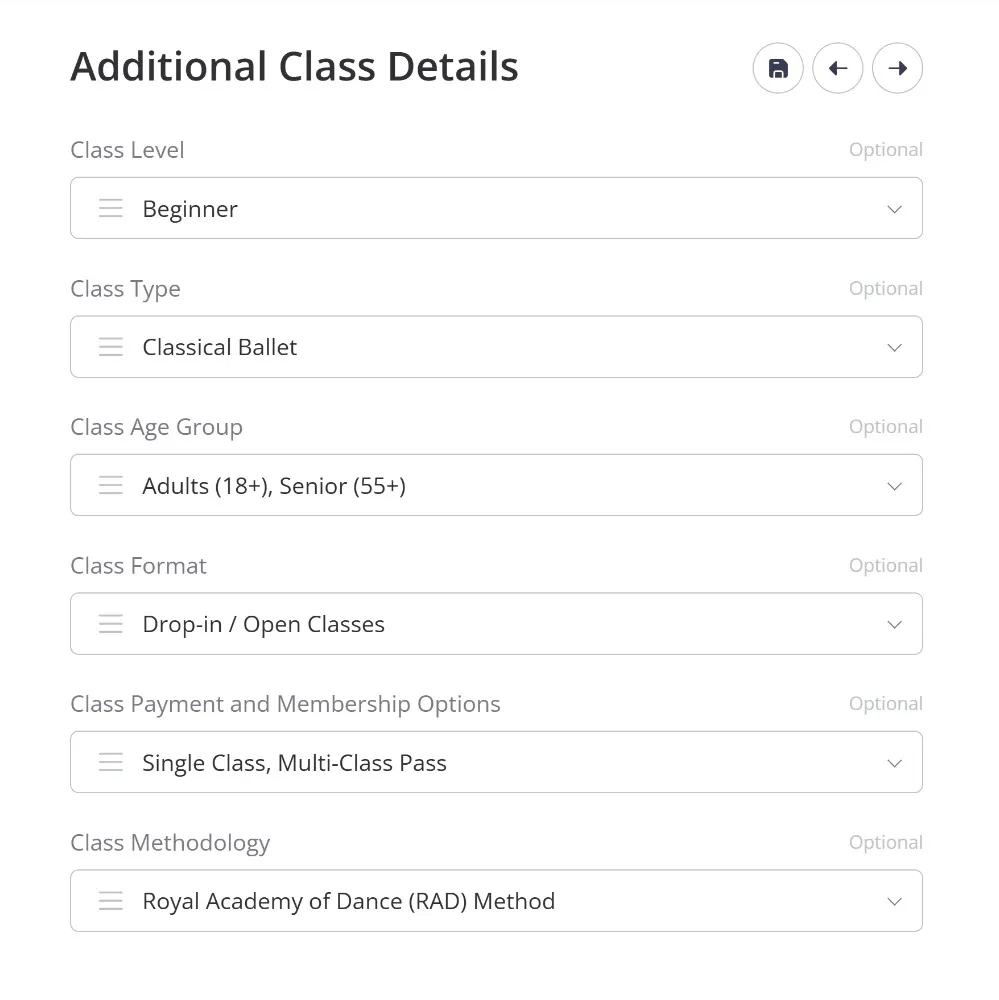
Use the dropdown menus to add detailed information about your class.
Please be as accurate as possible — this information is used in our search filters, helping dancers find suitable classes more easily.
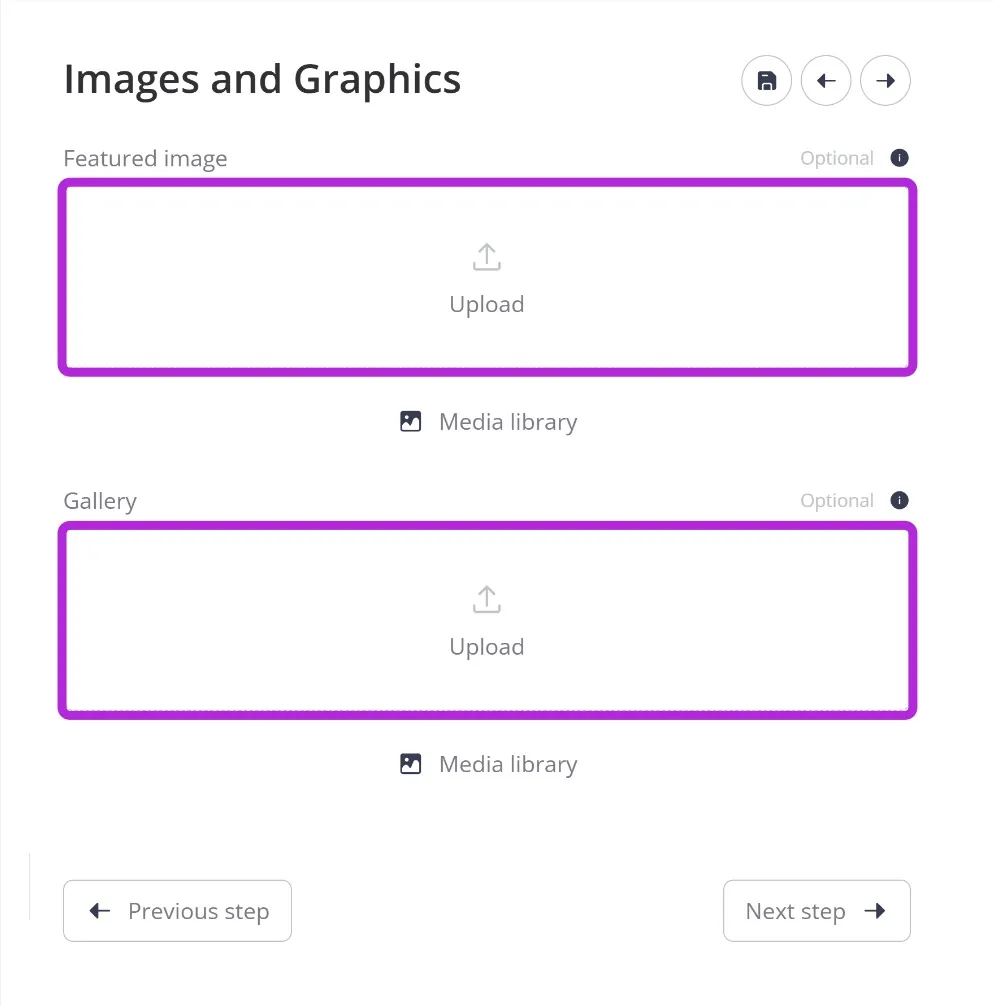
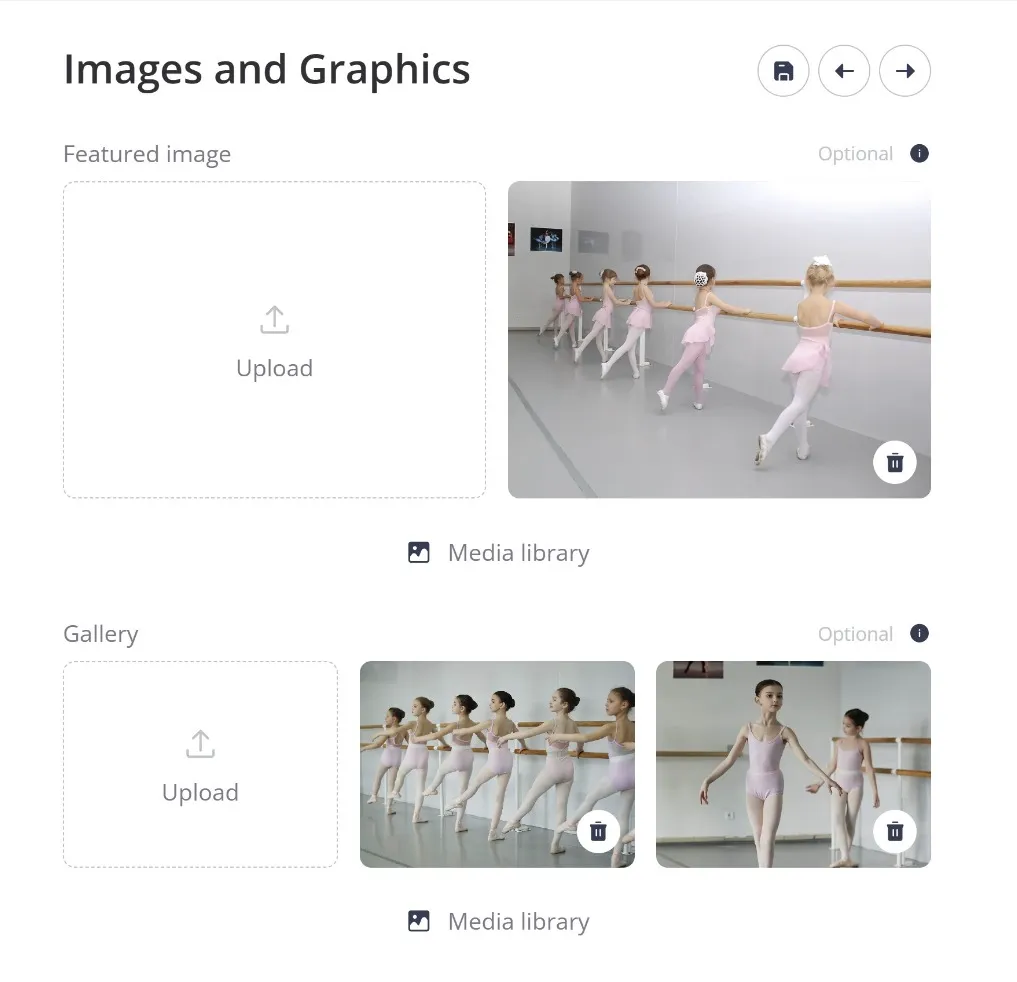
Add photos to make your listing more attractive.
We recommend using real photos from the class rather than generic stock images.
Featured image
This image appears:
- at the top of the class page
- as the listing thumbnail
Gallery
Gallery images appear inside the class description.
The final step is adding pricing information.
Click the “+ Add Row” button.
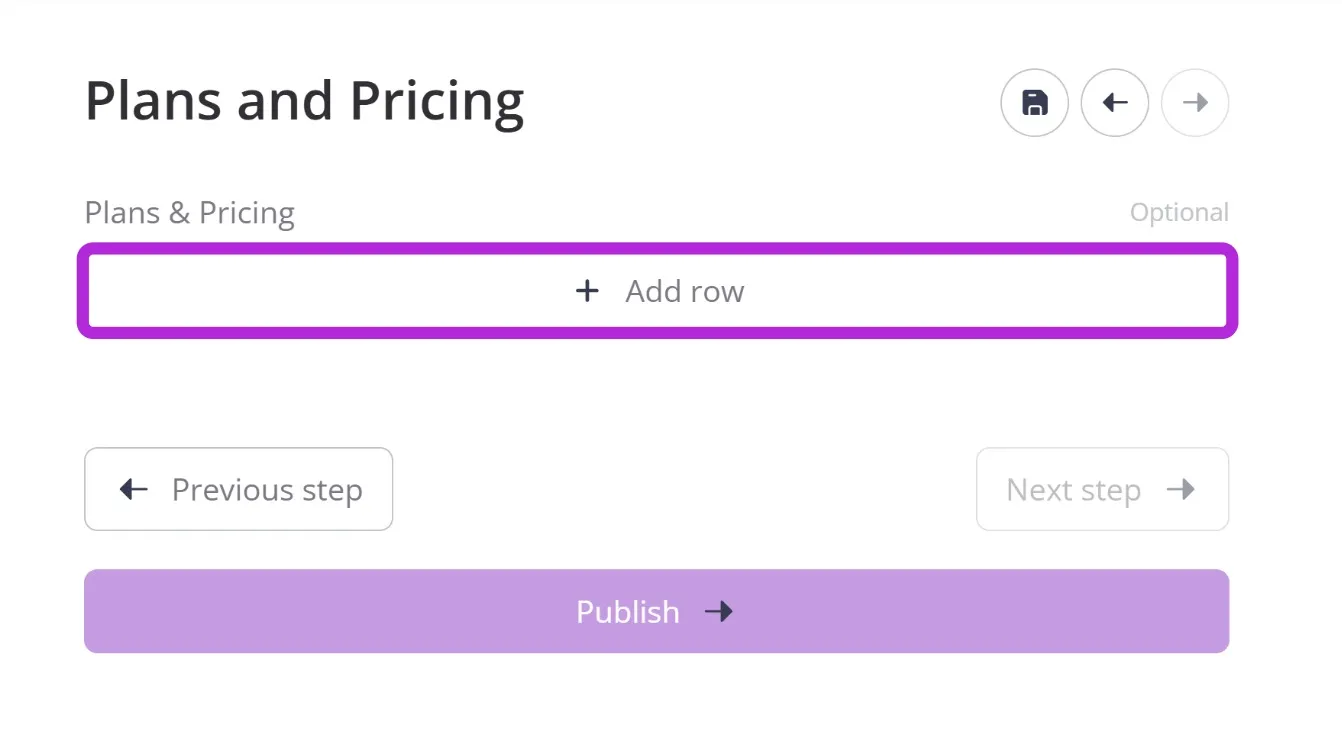
A new menu will appear where you can select:
- payment method
- price
- currency
- additional details
If you offer multiple payment options (for example single classes and class passes), simply add another row.
All payment options will appear on your class page.
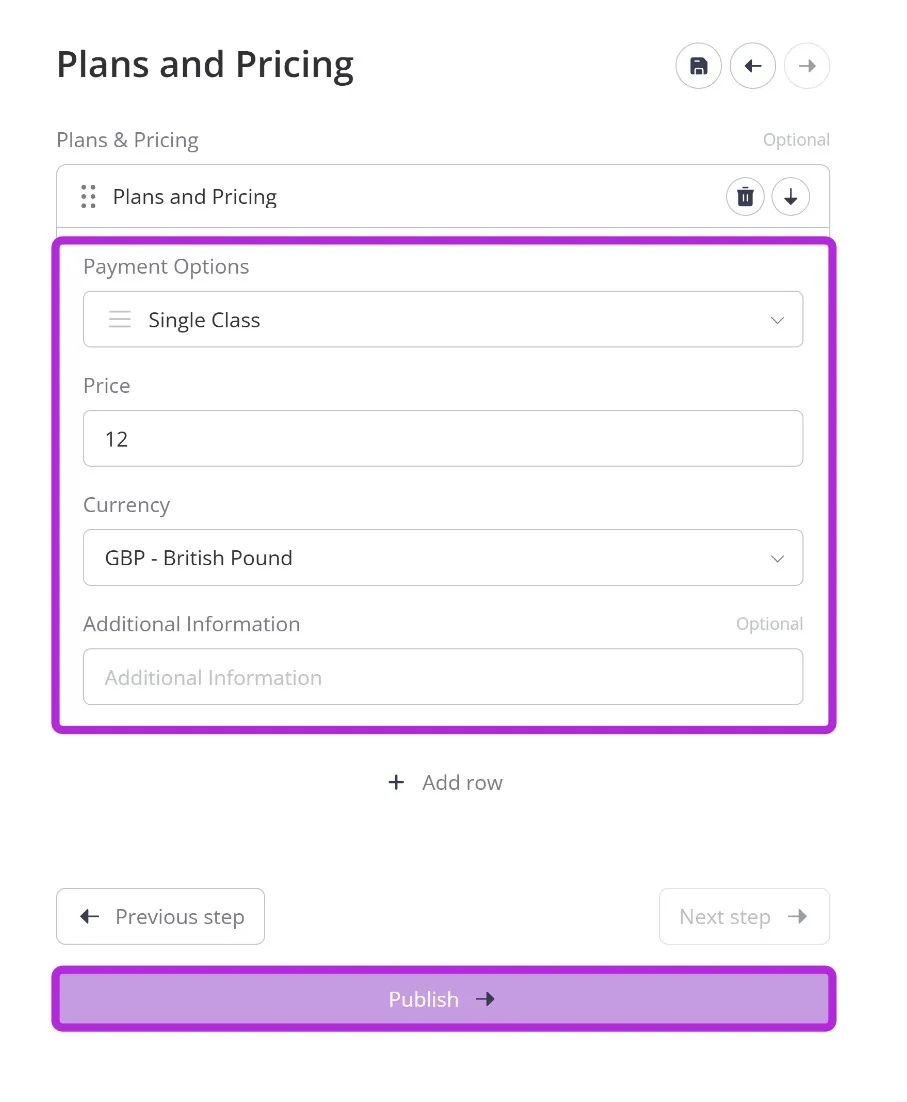
Once finished, click “Publish”.
Congratulations — your class is now live.